
Guardian Digital EnGarde Cloud Email Security
Protect Your Business from Email-Borne Cyberattacks
with an Fully-Supported Security System
EnGarde Cloud Email Security Keeps Companies
Ahead of The Latest Threats


Over 90% of cyberattacks start with a phishing email.
Protect your users, data, and brand against cyberattacks and breaches with comprehensive real-time email security defenses.
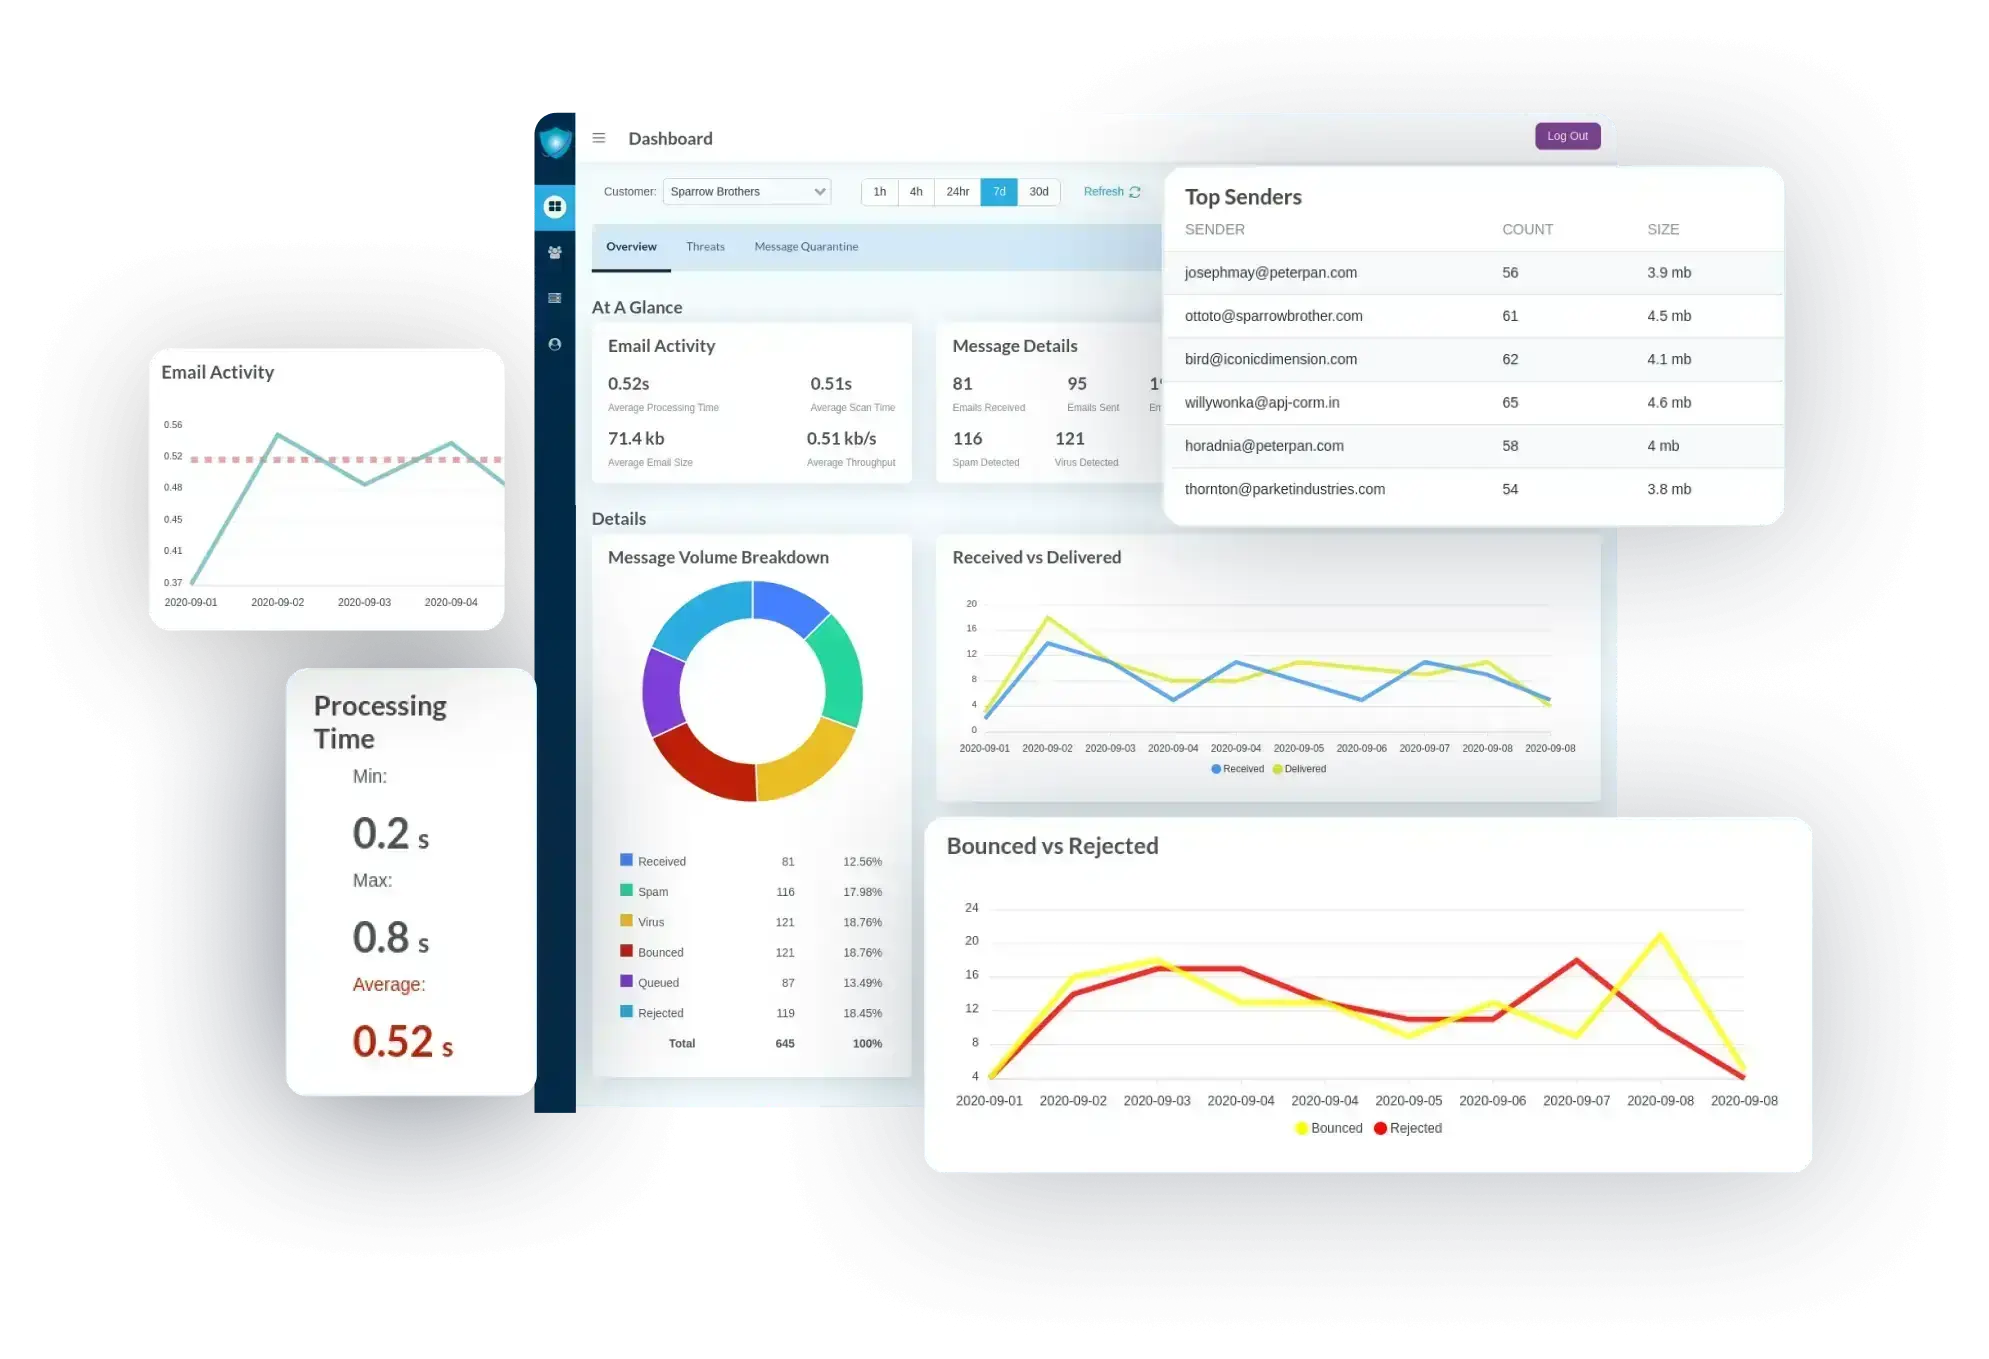
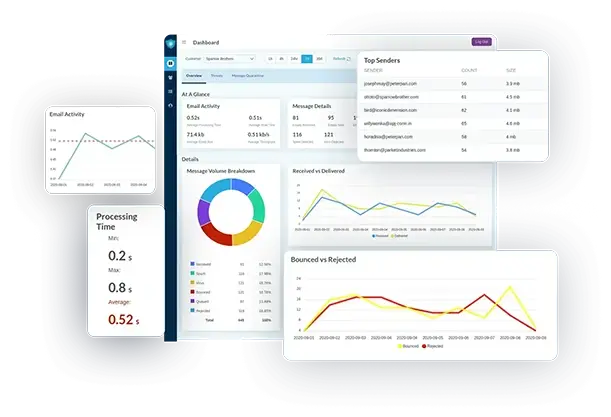
Visual email threat analysis with detailed charts.
Stay ahead of emerging threats.
Defend against advanced threats like targeted spear phishing, ransomware, and emerging zero-day attacks with innovative real-time protection powered by the same technology that powers the Internet.
Make informed cybersecurity business decisions.
Complete visibility into your email security and the threats targeting your organization reduces risk exposure and enables improved cybersecurity business planning and better enforcement of company policies.
Reduce management complexity and free up IT resources.
Improve security, simplify deployment and ease the load on your IT department with expert ongoing system monitoring, maintenance and support.
Modernize Your Email Security Strategy with a Threat-Ready Cloud-Based Security Platform
The email threat landscape is rapidly evolving. Static, single-layered email security defenses like those built into
Microsoft 365 and Google Workspace cannot protect against today’s sophisticated, evasive threats like
spear phishing, account takeovers, ransomware, and zero-day attacks.
Upgrade your email security strategy with EnGarde Cloud Email Security’s multi-layered defenses.
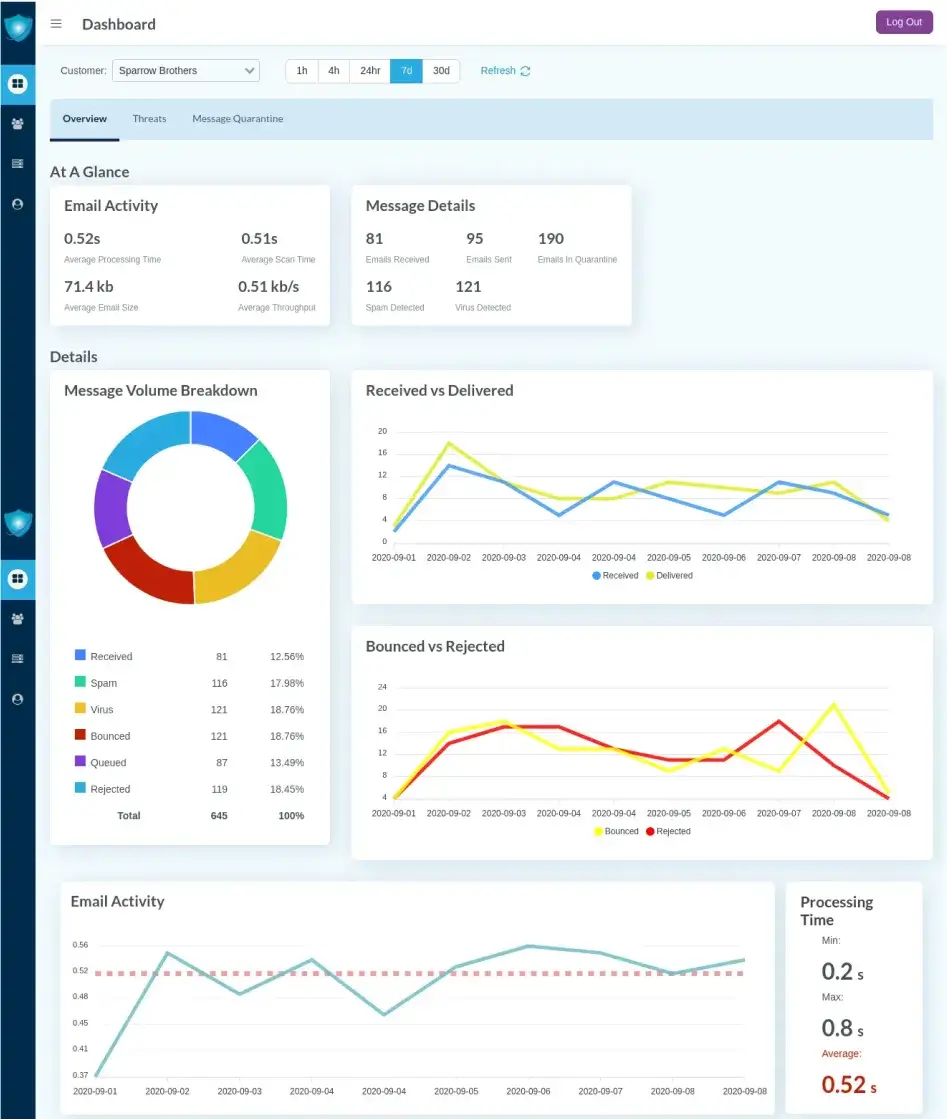
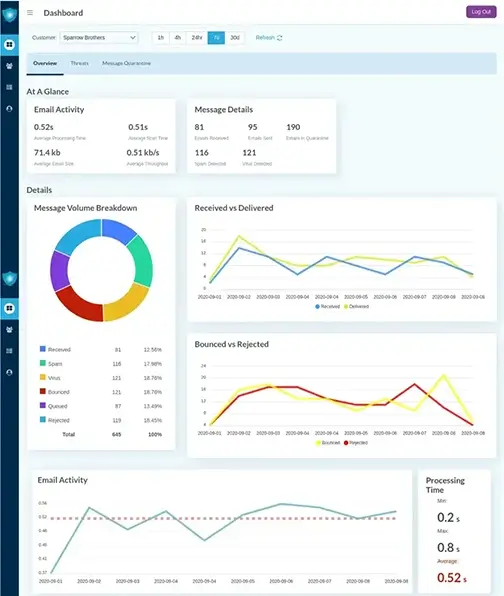
Email security dashboard with graphs and threat insights.
Stop Advanced Threats
Some of today’s most dangerous threats are advanced threats designed to evade traditional email security defenses such as email filters and signature-based antivirus software.
With EnGarde’s modern multi-tiered architecture featuring Guardian Digital Advanced Threat Protection, you can be confident that your business is shielded from the most advanced email threats - both persistent and unknown. EnGarde’s Advanced Threat Protection features:
- Defense against sender fraud, spoofing, and impersonation attacks with the implementation of advanced email authentication technology
- Protection against attacks leveraging malicious links and attachments
- Real-time detection of emerging threats with multiple AI-powered analytic engines
Superior phishing and zero-day protection with continual real-time updates and input from an innovative global community
Simplify Management & Improve Security
If you’re like most businesses, you’re short on IT resources and concerned about your ability to repel today’s advanced cyberattacks and prevent a breach.
We’ve engineered our protection to help you overcome these critical challenges. Our fully managed services are designed to effectively complement your in-house IT department, improving security and freeing up valuable resources. With Guardian Digital, a team of managed service experts will assume the responsibility of setting up, monitoring, and maintaining your systems.
We provide the cybersecurity expertise required to keep you ahead of current and future unforeseen threats.
In an era where email phishing scams and targeted ransomware are rampant, businesses face over 90% of their cyber threats through their inboxes. The catch? Securing email has never been more complex.
Meet your IT team. They're the unsung heroes, expected to protect your enterprise with limited resources and without hindering the flow of business.
Small and medium businesses, in particular, feel this pressure acutely. With options that are either inadequate, overpriced, or untrustworthy, it's like choosing between the lesser of three evils.
Use native tools with subpar protection? Or maybe throw your digital security into the hands of an unknown provider?
Or break the bank for complex third-party solutions that lack support when you most need it?
Enter Guardian Digital EnGarde Cloud Email Security. The smarter, stronger, and user-aligned choice that empowers your IT team.
We don't just throw a solution at you. We become an extension of your team. Understanding your risks, your IT limitations, and your-to-be-guarded treasures.
Together, we manage your email security ecosystem: as much or as little as you require. It's a partnership, not a product.
Our commitment? Reducing IT overhead, enhancing your team's capabilities, and, most importantly, keeping those costly email attacks at bay.
Guardian Digital EnGarde Cloud Email Security. The choice is clear. It's time to empower your defenses, and let us manage your email security WITH YOU.
Guardian Digital. Your trusted ally in email security.

Secure Sensitive Data
Spoofing and phishing attacks are designed to trick users into sharing sensitive account credentials, leveraging advanced social engineering techniques to deceive even the most security-aware users.
We recognize that success in any industry depends on establishing and upholding a clean reputation and that protecting sensitive information is essential in maintaining client trust. EnGarde safeguards critical data with end-to-end email encryption and layered email authentication standards and protocols designed to verify sender identity and ensure that only safe, legitimate mail reaches the end user, mitigating the risk of data compromise due to human error.
Interested in Safeguarding Your Business with EnGarde’s Innovative All-in-One Protection?


Combat Credential Theft in Microsoft 365 & Google Workspace
Microsoft 365 and Google Workspace email are highly vulnerable without critical additional layers of security protection in place. Due to their immense user base and inherent uniformity, these popular platforms have become a favorite target among cyber thieves looking to steal valuable data and compromise accounts.
EnGarde is the perfect fit for organizations looking to make cloud email safe for business. The proactive security platform is designed to close dangerous gaps in built-in cloud email security, fortifying Microsoft 365 and Google Workspace against credential phishing, ransomware, and zero-day threats.
 AT &T
AT &T  Sansone Auto Mall
 AT&T New Zealand
![]()
Not only was the support timely, it was performed in a personable manner that made me feel like our problem was important.

Guardian Digital enhances our organization's network security while at the same time enabling me to be more productive on other projects. It's truly an invaluable asset.

Pain-free Implementation, Exceptional Results. The team consistently showed they were fully committed to getting us up and running as quickly and as seamlessly as possible. Our stringent security requirements were implemented without incident.
- Dave Coder, Network Services Manager, Chicago Stock Exchange
Guardian Digital provides the real-time insights and expert support we need to secure email communications, monitor threats, and improve compliance with ease. Now I can rest easy without C-level colleagues reporting real or perceived attacks.

I'm always looking for ways to improve our infrastructure in a secure and cost-effective manner. With their track record of strong, secure products, great support, Guardian Digital was the clear choice for me.
- John Cahill, Senior Network Security Engineer, Piedmont Natural Gas
Our experience with Guardian Digital has been a blessing for our institution. You have a greater sense of email security with this extra layer. Interactions with support have always been met with fast and proactive response times.
- Robert Williams, Information Systems Manager, Jersey Shore Federal Credit Union